Abstract
This project is a collection of former (and some new) projects brought together to make an APRS digipeater, which doubles as an APRS weather station, with PE1RXF telemetry server capabilities.

The story
For several years I operate an APRS iGate on both 2 meter and 70 cm LoRa. I added my own PE1RXF telemetry support (see: https://www.meezenest.nl/mees-elektronica/aprs_telemetry.html). This worked fine, but I already had designed an updated version of the iGate. The prototype worked, but had some issues. So I kept using the old iGate and forgot all about the new version.
Some time ago I started to design a weather station (https://www.meezenest.nl/mees-elektronica/weather_station.html) which I located in the back garden. Because it was out of reach of my wifi network, I used the APRS iGate prototype to send the weather data via its build in LoRa modem to my PE1RXF telemetry server.
Than the idea of relocating my existing iGate to the location of my weather station emerged. The weather station had all the hardware I needed build in. And it made sense to combine the two systems, as both handle APRS traffic. Besides, both systems use energy so shutting one down seems sensible.
But the reason I used the APRS iGate prototype in the first place, namely the absence of wifi, became a problem again. An APRS iGate has to have access to the internet, that’s the whole point! But the amount of data it sends is small, so I didn’t need lots of bandwidth. And at that point another dormant project woke up: I always wanted to experiment with TCP/IP over the air. In the past I did some experiments with TCP/IP over AX.25 (packet radio), but the 1200 baud modems were simply too slow. I also had build a 5GHz HamNet link, but 350 Mbit/s is quite the overkill. I needed a link speed between 15kB/s to 500kB/s. The Rnode project from https://unsigned.io/hardware/RNode.html seemed perfect.
The design
Weather station
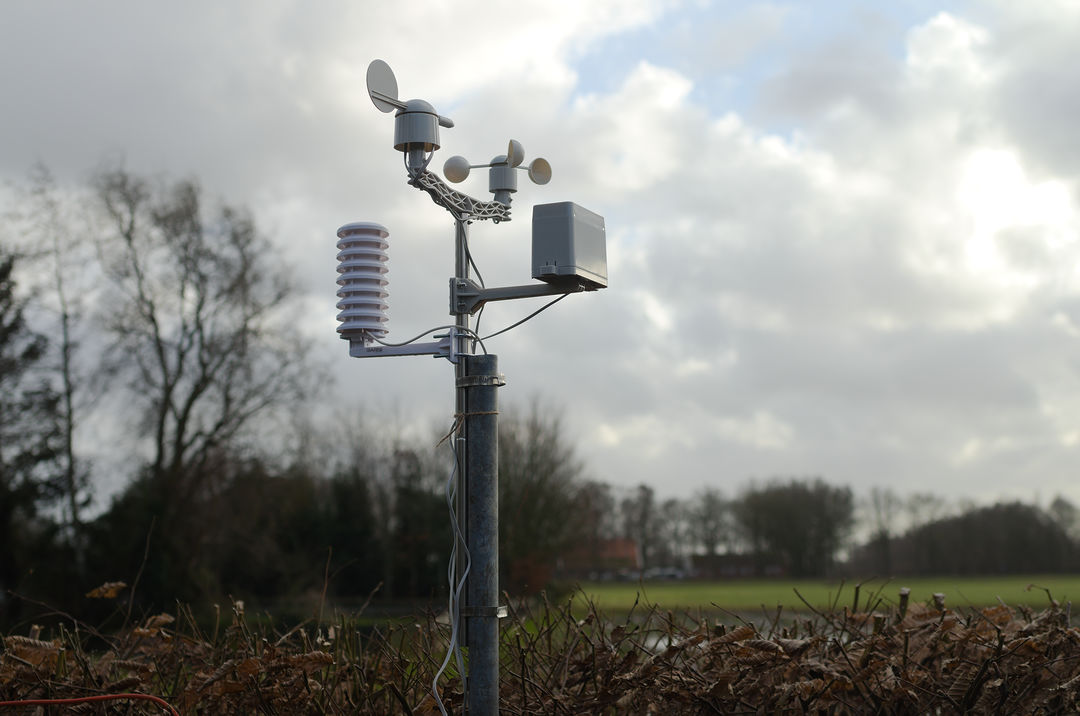
This project started with a weather station. I designed it as a stand alone weather station with an RS-484 ModBus interface. It can measure wind speed, wind direction, rain fall, humidity, air pressure and temperature. The complete build document of the weather station can be found here: https://www.meezenest.nl/mees-elektronica/projects/weather_station/build_doc/weather_station.html
Brains
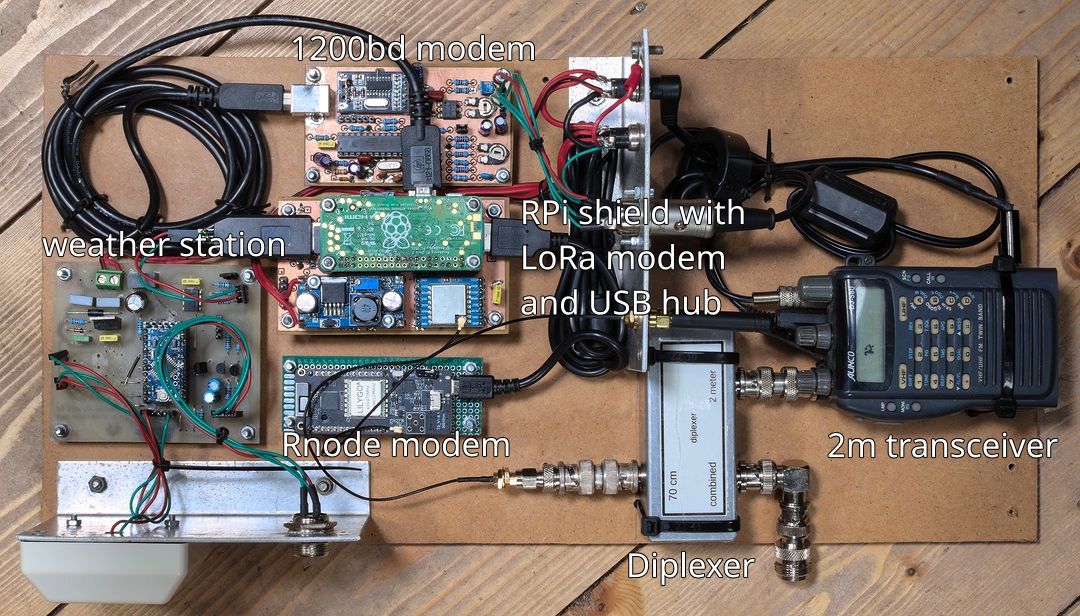
Although stand alone in operation, to read the measurements the weather station must be connected to a host via RS-485. This host is a Raspberry Pi LoRa shield I designed to be the successor of my first APRS iGate. It is a simple PCB with room for a Raspberry Pi Zero 2 W, a LoRa transceiver, a real time clock and a power supply.
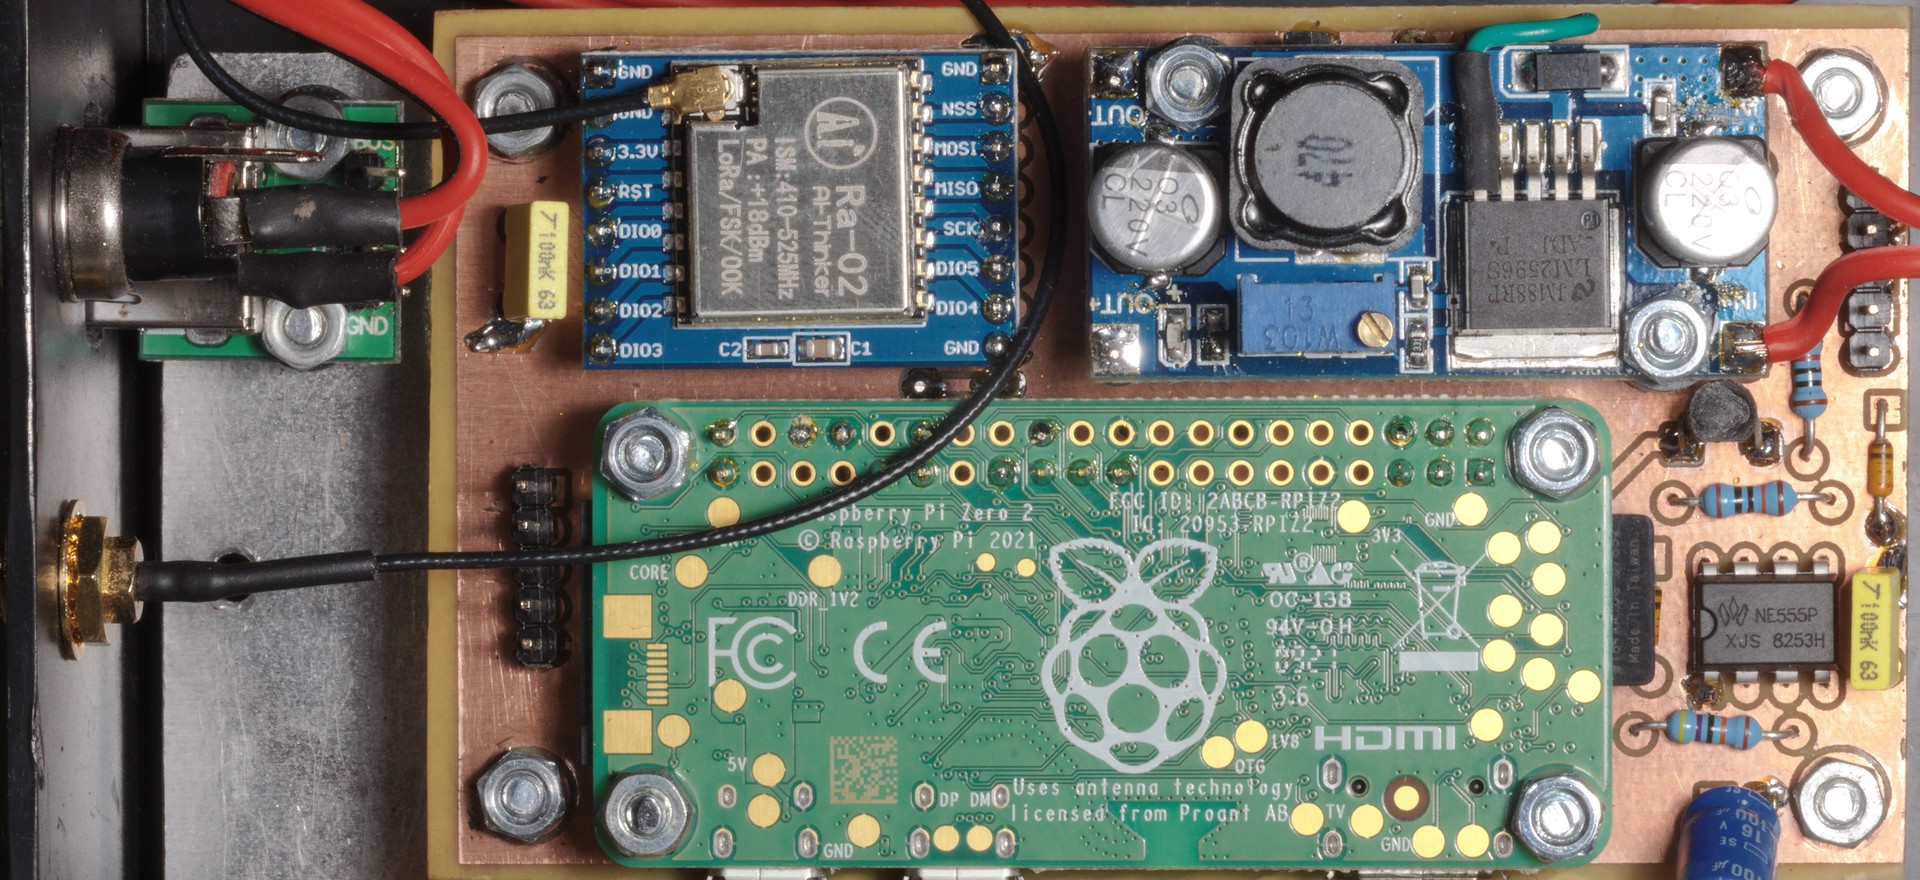
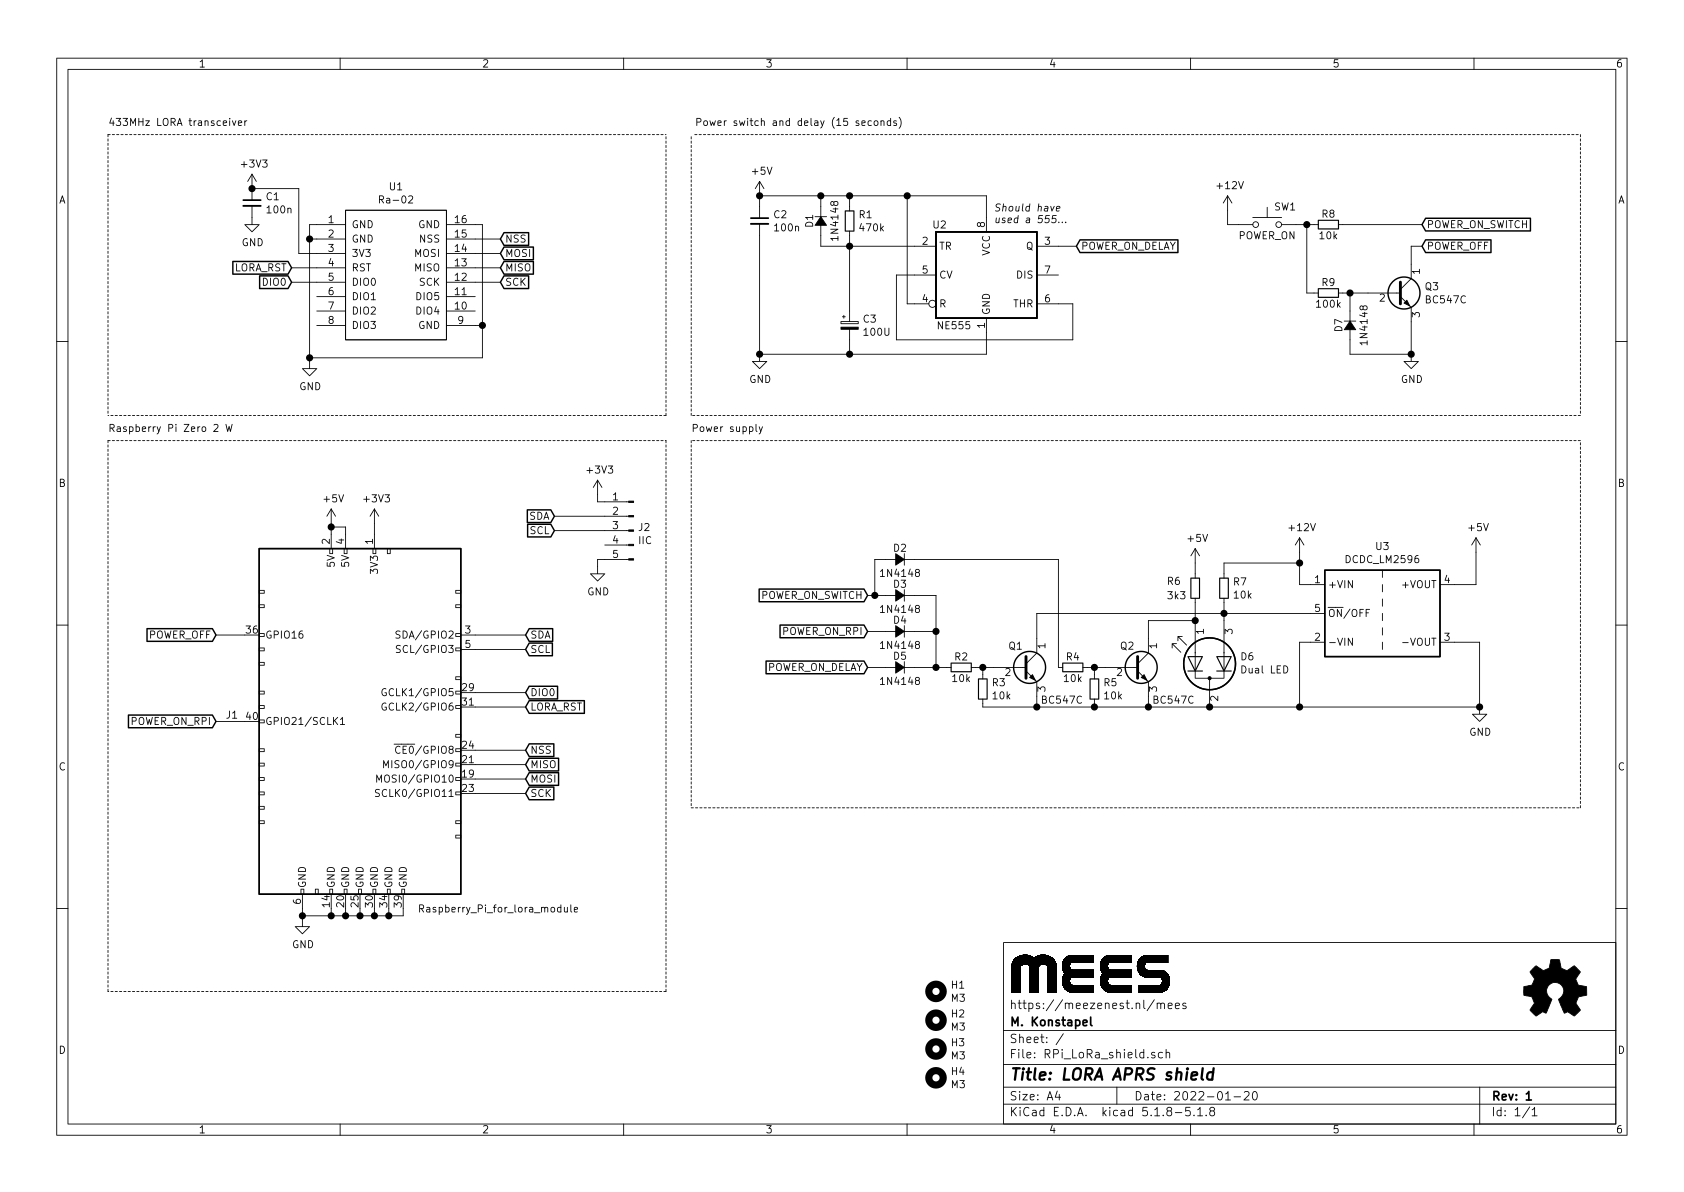
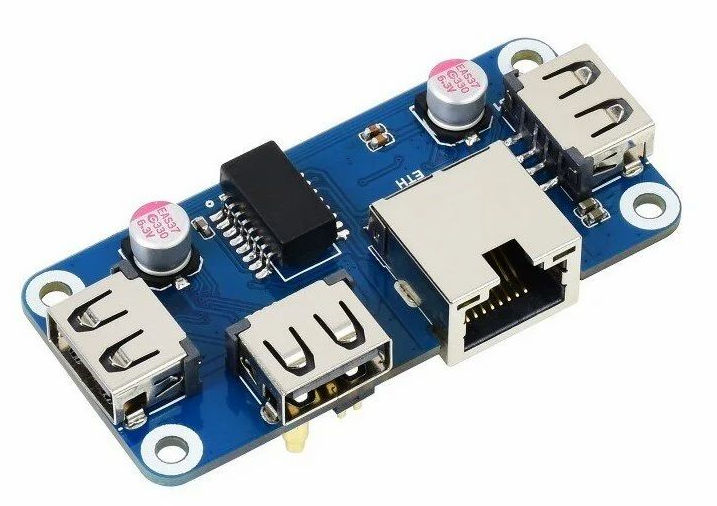
To make this board work for this build, all the power button stuff has to go. That is all the transistors and the surrounding resistors, capacitors and diodes. And the 555 timer must also be removed. The RTC should be mounted on the bottom of the board instead of the top. After that, a Waveshare ethernet/USB hat is sandwiched between the pcb of the shield and the Raspberry Pi.
Peripherals
The Raspberry Pi needs some extra hardware for interfacing the various peripherals, like the transceiver, the ModBus and the Rnode modem.
USB hub
As the Raspberry Pi only has one USB port, a hub is essential. I used an old one I had laying around. Taken out of its case, it fits perfectly.
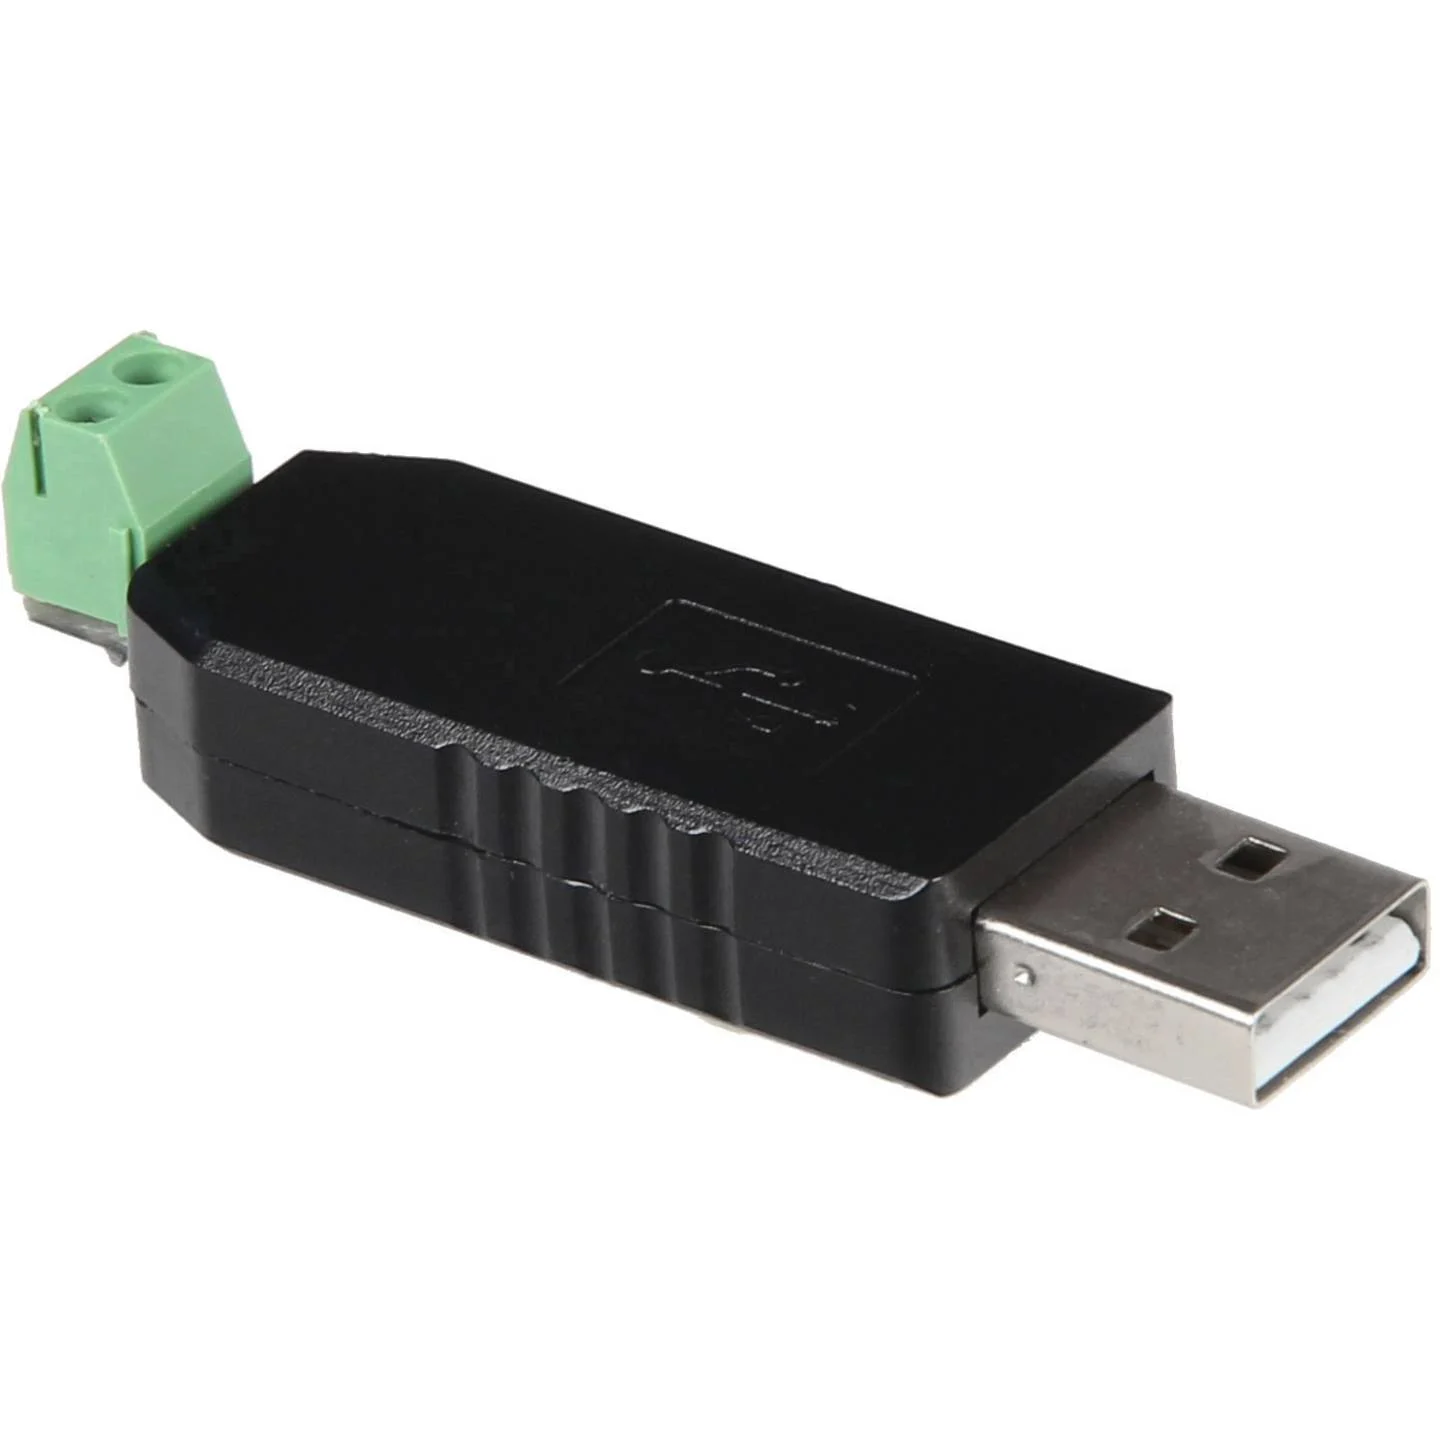
RS-485 dongle
To interface with the weather station a USB to RS-485 dongle is needed. A cheap one from Joy-IT (https://joy-it.net/en/products/SBC-TTL-RS485) is fine.
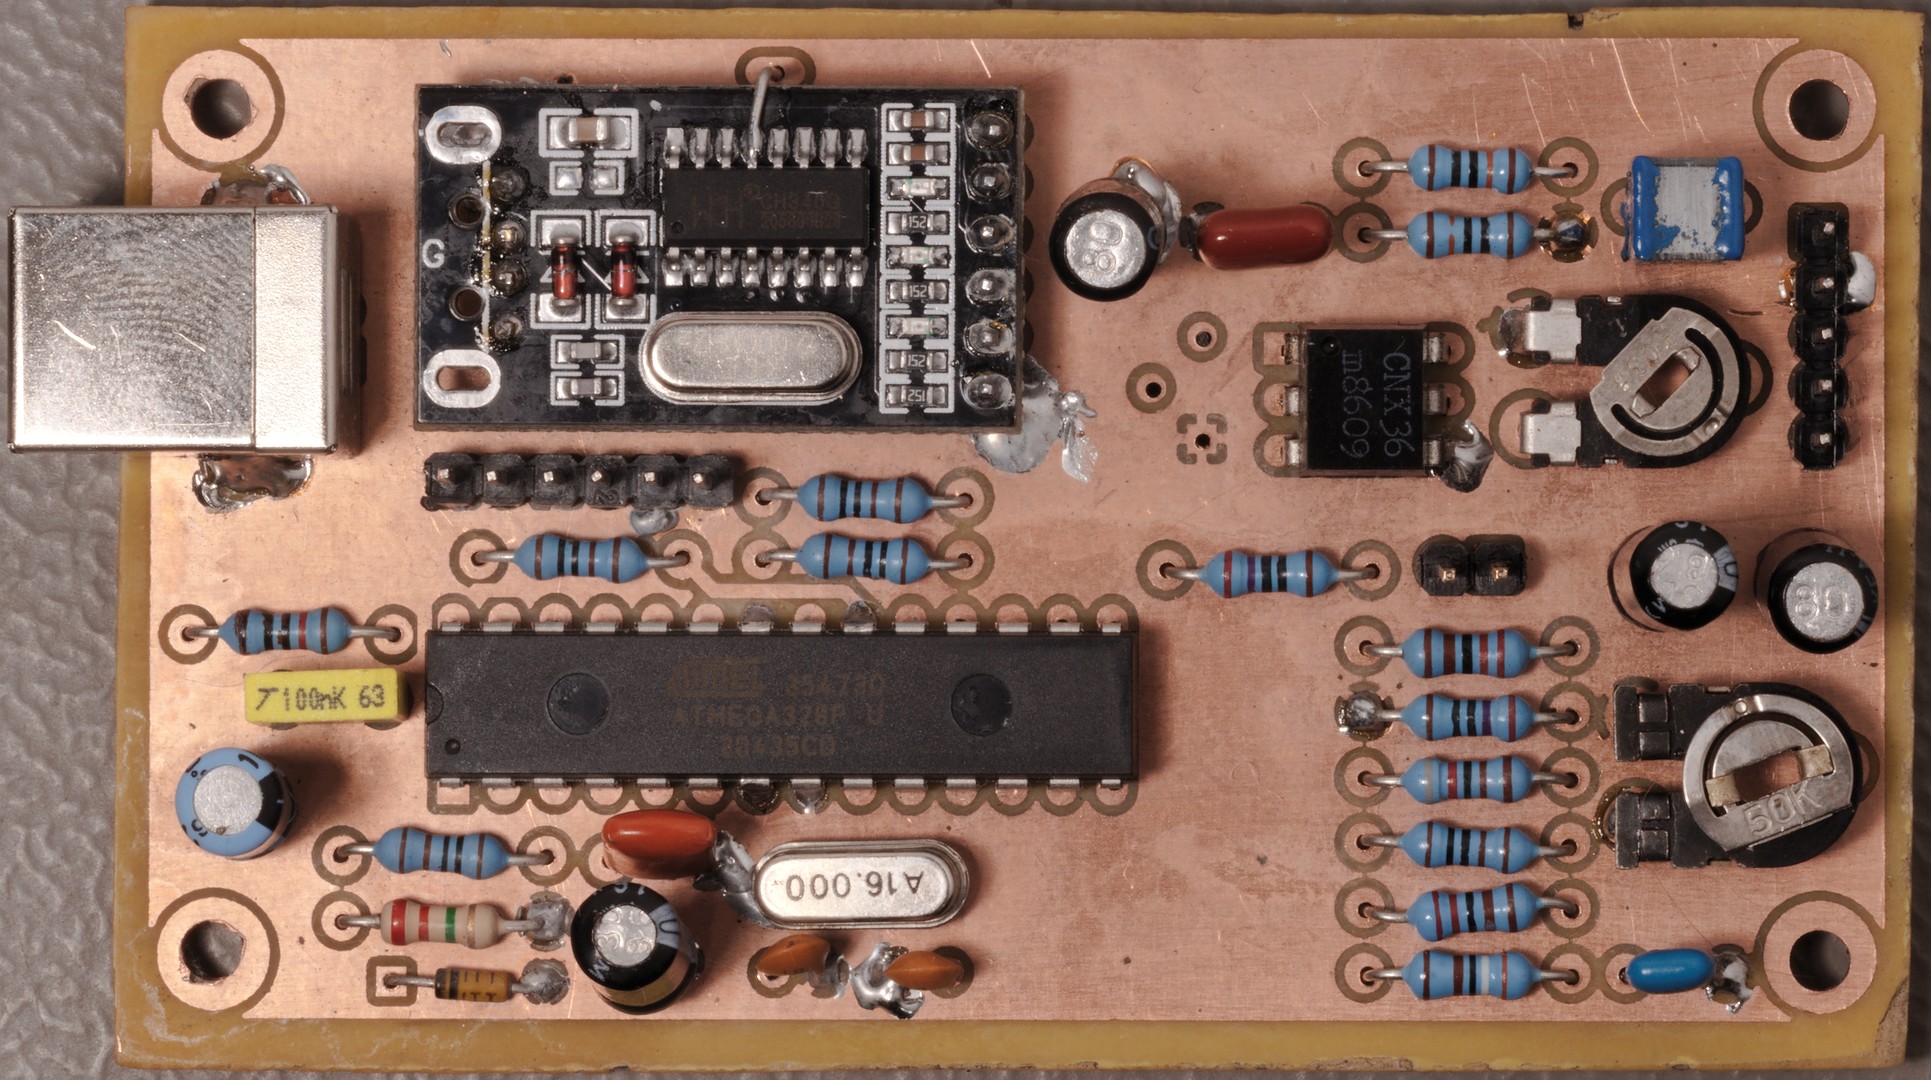
1200 baud APRS modem
This modem I also had laying around. It is called “Packet modem nano 2” and it is based on the Micromodem from unsigned.io (https://unsigned.io/hardware/MicroModem.html). The design files for this modem are part of this project and can be found in the git repository.

Rnode modem
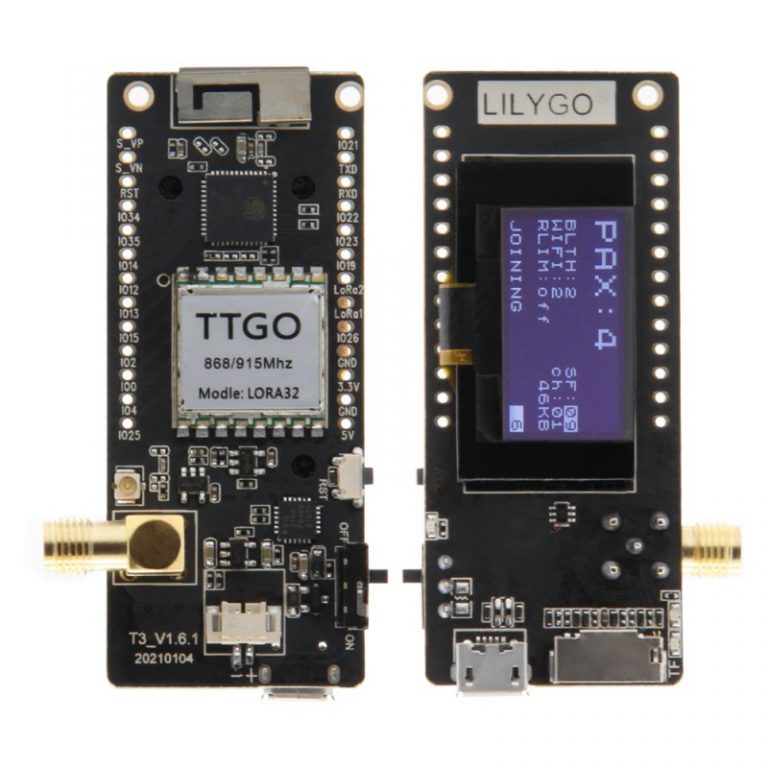
For the low speed network link I use the Rnode project from https://unsigned.io/hardware/RNode.html. This is an amazing project and I only use a small part of the features available. In my ow project is works as a KISS compatible LoRa modem. Together with the tncattach program (https://unsigned.io/software/tncattach.html) it forms a Linux network adapter over which I can route all the network traffic. The maximum speed is just above 20 KB/s, which is enough for APRS-IS traffic. For archival reasons, I included the source code of tncattach as well as rns (the firmware and configuration utility) in the git repository.
The hardware on which the Rnode firmware is flashed is a LilyGO LoRa32 v2.1 (also known as TTGO T3 v1.6.1). Of course you need at least two boards to form a network. With a good antenna, the range is easily 100 meters (and probably more than 1 km), which is plenty enough for what I need.
As a ham, I use the 433 MHz version, of course.
External hardware
2 meter transceiver
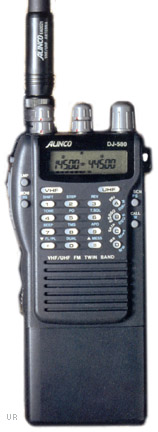
The 2 meter transceiver is an old Alinco DJ-580 hand held radio with an output power of 5 Watt. It is connected to both the 5 pin DIN connector and the 12 Volt barrel jack on the Raspberry Pi.
Diplexer
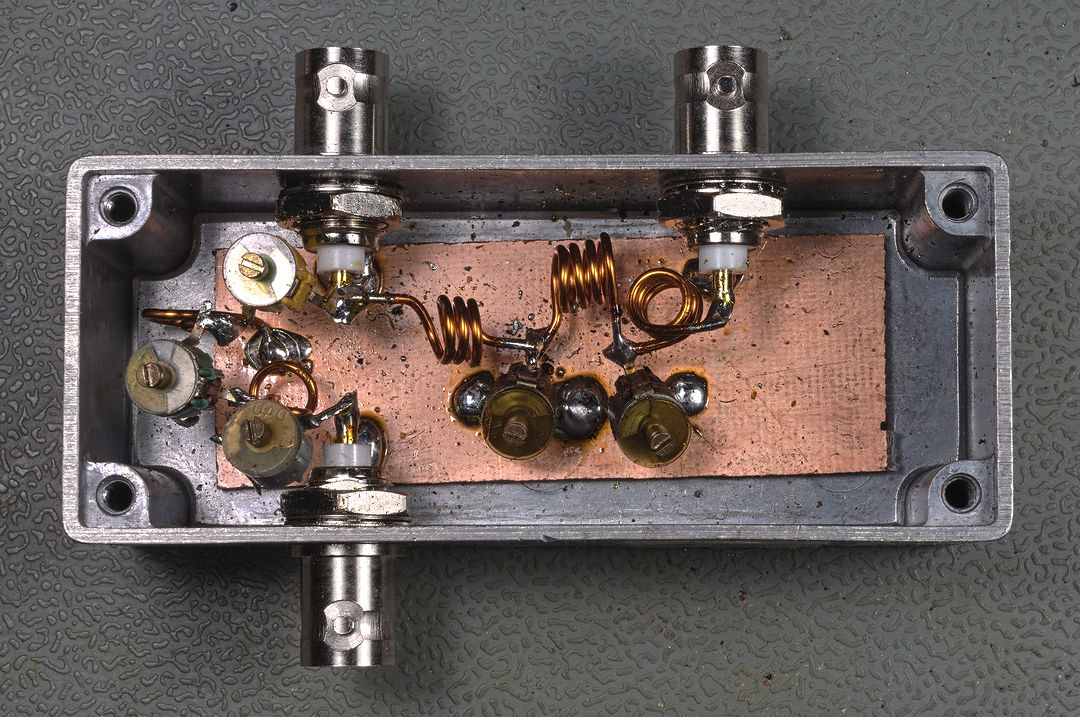
The LoRa APRS transceiver (70cm) and the APRS transceiver (2m) are connected to a diplexer, making it possible to use one dual band antenna for both radios. The diplexer is designed specially for this project. The port isolation is not great, but because of the small transmit power of the two transceivers, this is not a big deal. And even so: it outperforms a commercial Diamond triplexer on the 70cm band.
All the inductors are made from 1mm copper wire (preferably silver plated) and wind around a 6mm rod (a screw driver or a drill bit for example).
Adjustment procedure:
- Connect a dummy load to the combined 2m/70 cm port
- Connect an SWR meter and a 70cm transmitter to the 70cm port
- Adjust C1, C2 and C3 for the best SWR
- Connect the SWR meter and a 2 meter transmitter to the 2m port
- Adjust C4 and C5 for the best SWR
- Repeat the two steps, as both ports influence each other
Specifications
- Insertion loss: < 0.2dB
- Port isolaion (2m to 70cm): > 55dB
- Port isolation (70cm to 2m): > 30dB
- Maximum power: 30W

Antenna
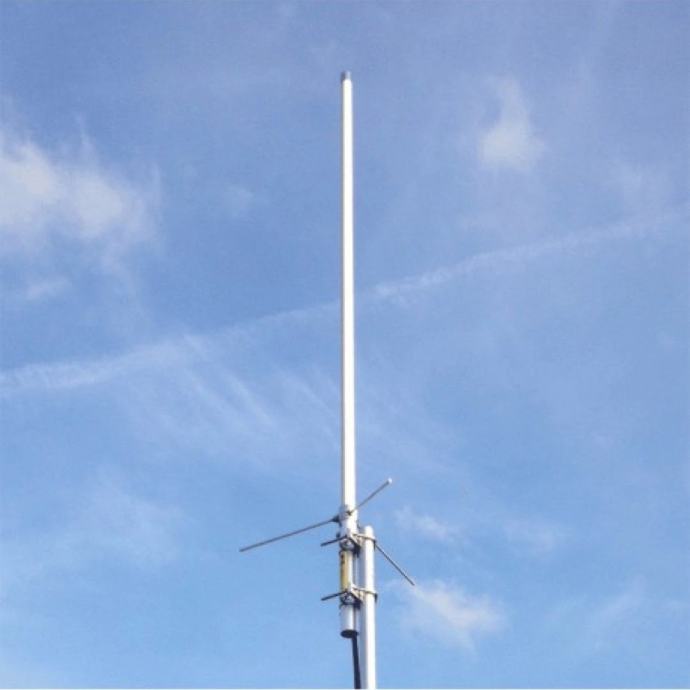
This is a simple 2m/70cm dual band antenna from Diamond, the X30.
The build
Hardware
To make the system easy to handle and somewhat robust, it is assembled on a piece of MDF board, which can be bolted in a 19” open frame housing.
Software
The instalation of all the needed software on the Raspberry Pi is complicated, so I wrote a separate document: installation_pe1rxf_aprs_weather_server.html
The specifications
- 2 meter transceiver with 37dBm (5W) output power
- 70 cm LoRa transceiver with 20 dBm (100mW) output power
- Raspberry Pi Zero 2 W
- APRS igate software
- Weather station via ModBus
- Rnode TCP/IP over 70 cm LoRa for internet
License
Copyright (C) 2024 M.T. Konstapel
The software is published as open-source software (GPL). The hardware is published as open-source hardware (OSH).
Software
This program is free software: you can redistribute it and/or modify it under the terms of the GNU General Public License as published by the Free Software Foundation, either version 3 of the License, or (at your option) any later version.
Hardware and documentation
This work is licensed under a Creative Commons Attribution-ShareAlike 4.0 International License.